3 Tips To Make Your Front Door Last Forever
XL Joinery’s 3 Top Tips To Make Your Front Door Last Forever
”
Our front doors take a thrashing. From the drying temperatures of our modern central heating, to the ice-cold rain showers that batter them throughout the winter months it’s easy to forget that they might need some TLC too!
As a market leader in the door industry we always see a spike in external door sales when the temperatures drop and the rain turns to sleet. The change in temperature and humidity can have detrimental effects on external doors that haven’t been properly finished, have been neglected or have been improperly fitted to the frame.
This is why we have listed some of the top tips for helping your door stand the test of time.
-
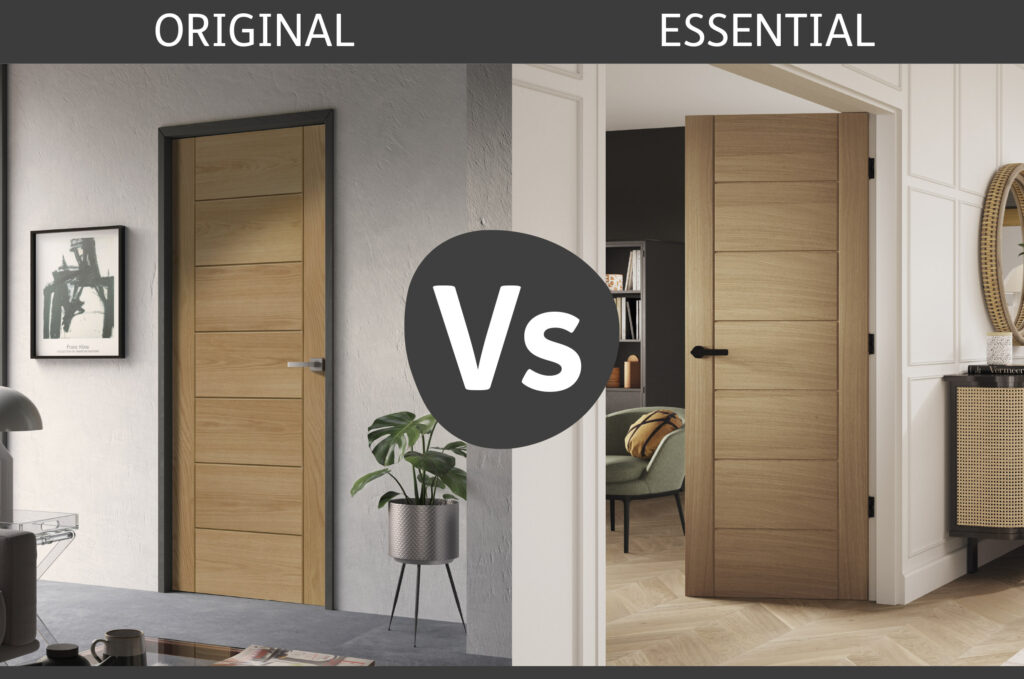
How to Pick the Right Front Door
There are many different styles and materials available when choosing an external doors, and obviously the aesthetic of the door will play a huge part in your decision making, however there are other considerations you may not have thought of…
Do your doors need to have hardware fitted such as door numbers and knockers, letter plates, spy holes, a cat flap etc. if so, the construction of your chosen door needs to be carefully considered. For example, some vertical panel doors are not able to support a cat flap.
Make sure you are speaking to an expert in the field, let them know exactly what you need your door to do and they will advise accordingly. Our technical helpline is always on hand to offer specialist advice on which door is the best fit for you. You can call them on 07000 785 571 or contact them here.
-
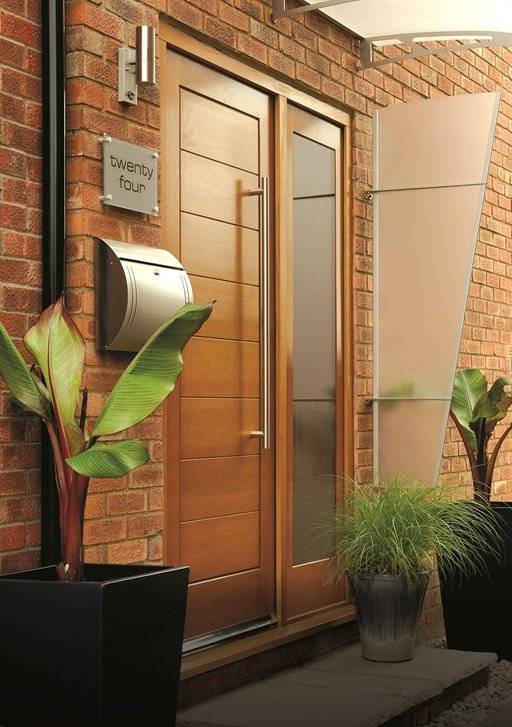
Make Sure Your Front Door is Installed Correctly
Although there are many competent DIY’ers that would have no trouble fitting a door, we would always recommend using a skilled tradesperson to do this for you. A weather bar or rain deflector should always be fitted and sealed to the door at the top edge to ensure water is moved away from the bottom edge of the door. On doors that open outwards a drip bead should be fitted in order to prevent moisture ingress to the top edge of the door.
When trimming the door to fit, ensure you do it evenly; if you need to remove 8mm, ensure 4mm is removed from each edge equally.
You can watch our door installation guide below!
-
How to Finish Your Front Door
Whether you are enhancing your oak doors natural beauty or adding a touch of personality there are some important points you should keep in mind.
- Bare timber doors will require a light sanding prior to finishing. This step removes any surfaces blemishes or debris from the wood. Use a medium grit paper and always sand with the grain not against. Sanding the door down will give the initial layer of paint or primer something to stick to, ultimately giving you a better and smoother finish! Ensure the door is thoroughly wiped down before applying the paint to ensure there is no sawdust left.
- Take care when finishing glazed doors to ensure that the finish does not go on the glass. Unlike our internal doors, external doors often don’t come with a paint and peel system. Protection such as masking tape may be necessary. If you choose to remove masking tape with a blade ensure you do not penetrate the silicone surrounding the glass as this may allow moisture to get through.
- The material of your chosen door will decide what kind of finish you can use. Wooden doors must be finished in a ‘High Build’ tinted wood-stain or good quality exterior paint. If you are unsure on your chosen finish you can call our technical team who will be able to advise which finish is the best.
- Applying the finish to the door. All timber surfaces must be given a total of three coats of high-performance wood stain or paint. As well as adding a touch of personality to your front door, your chosen finish is also there to provide protection against all elements. 3 Coats, allowing them to fully dry between applications, is the best way to ensure your door is protected. It is important to apply the finish to the door before final installation. This also means any cut outs you have made, as any exposed timber could be detrimental to your door. When applying the finish pay particular attention to sealing the timber end grain on the tops and bottoms of the doors and any grooved areas within the door design. Clear translucent coatings are not recommended as the timber may discolour through UV degradation.
- Maintenance. Unfortunately there isn’t a paint yet available that is completely invincible from deterioration. As a rule of thumb we would suggest that you routinely check your finish annually and apply top up coats as required to refresh the finish. Houses that are located closer to the coast may find that their door finish deteriorates faster than those in the countryside, so checking these bi-annually would be better. A finish refresh would include a light sanding of the door and another coat of your chosen finish.
Here is a quick do’s and don’ts for finishing your external door!
DO
- Use a ‘High Build’ tinted wood-stain or good quality exterior paint
- Apply a minimum of 3 coats to all faces and edges
- Apply the same number of coats equally to the face, edge, lock, letterbox and hinge cut-outs.
- Check that paint or stain manufacturers’ product is suitable for your chosen doors.
DO NOT
- Use thin penetrating seals, oils, wax, dyes, preservatives or hard, brittle varnish finishes
- Apply stains or paints in damp / wet weather
- Use thinned / mixed paints or stains
- Mix incompatible products, e.g. paint on one door face and stain on the opposite face.
You can also watch our external door finishing video below!
Should you need any more advice then don’t hesitate to contact our technical team on 07000 785 571 or contact us here.
“